Advanced Features: Multiple Floors
Adding verticality to your dungeons can create more interesting exploration, distinct floor levels, and a better sense of scale or progression. DunGen supports multiple floors not through a specific feature, but by leveraging the core Tile and Doorway system.
How it Works: Vertical Doorway Placement
The key to achieving multi-floor layouts is simple: create Tile prefabs where Doorway components are placed at different Y-coordinates (heights).
DunGen's generation process works by aligning the world-space position and orientation of doorways when connecting tiles. If two connected doorways have different Y-positions in their respective Tile prefabs, the newly placed Tile will naturally be positioned higher or lower than the previous one, creating a change in floor level.
A common example is a Tile representing a staircase:
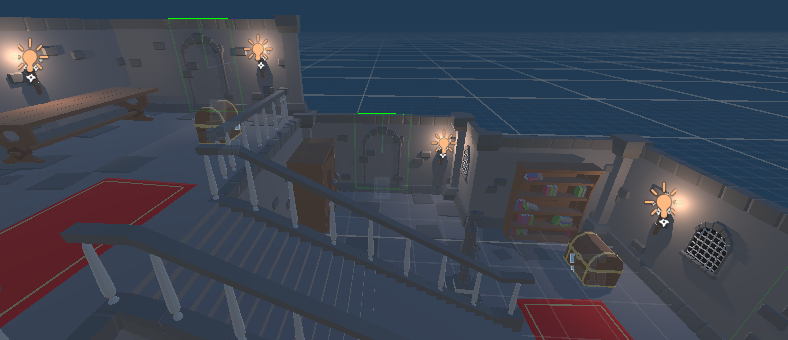
A Tile with multiple Doorways at different heights
When DunGen uses such a Tile, it seamlessly integrates vertical movement into the layout. If you simply include these "transition" Tiles in your regular Tile Sets, floor changes will occur organically based on random selection.
However, if you need more precise control over when and how floor transitions happen, you can use the following techniques.
Controlling Floor Transitions
Here are several ways to manage verticality in your dungeon generation:
Forcing Transition Direction (via Doorway Constraints)
You can dictate the direction of travel through a transition tile. If you want a specific staircase Tile to only ever lead upwards from the point of entry:
- Select the transition Tile prefab.
- Inspect its Tile Component.
- In the
Entranceslist, assign only the lower Doorway(s).
Now, DunGen can only enter this Tile via the bottom doorways, forcing the connection path to proceed upwards to exit through the higher doorways. Conversely, assigning only the upper doorways to Entrances forces downward transitions.
Dedicated Transition Points (via Flow Nodes)
To ensure a floor transition happens at a specific point in the dungeon's progression:
- Create a dedicated Tile Set containing only your floor transition Tiles (like staircases, ramps, elevators).
- In the Dungeon Flow Editor, add a new Node along the main path where you want the transition to occur.
- Assign your dedicated transition Tile Set to this specific Node. DunGen will be forced to pick a transition Tile at that exact point in the layout.
Generating Distinct Floors Sequentially
To create completely separate floors generated one after another:
- Design your first floor's layout in the Dungeon Flow Editor.
- Assign a Tile Set containing only upward transition Tiles (e.g., stairs leading up) to the
GoalNode of this first floor's flow graph. - Generate the first floor dungeon. It will end with a transition Tile leading to an unused Doorway at the upper level.
- Use the Generating Attached Dungeons feature to generate a second dungeon instance, instructing it to attach specifically to that unused upper Doorway. This second dungeon instance will represent the next floor. Repeat as needed for more floors.
Effective use of multiple floors adds depth and complexity to your generated levels. By designing appropriate transition Tiles and using DunGen's flow control features, you can create compelling multi-level environments.